Manage Applications
App creation
Login to WebHare and click at the left side on WMCA.
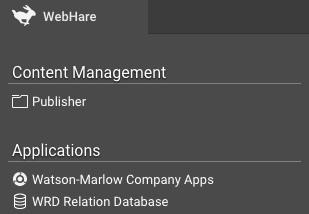
You will be presented by the following screen. Click inside the window on New app.

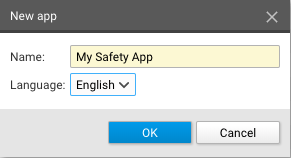
Give the app a name and select the apps language. Then click on OK.
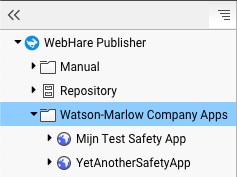
The app will now be listed in the WMCA Apps list. The user will only be able to see the apps the user has been given access to.
To make the app accessable, a webserver needs to be set up.
Setting up webserver
Click in the WebHare tab on Webservers
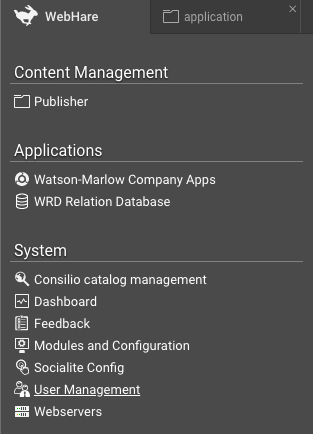
You will be presented with the following screen:
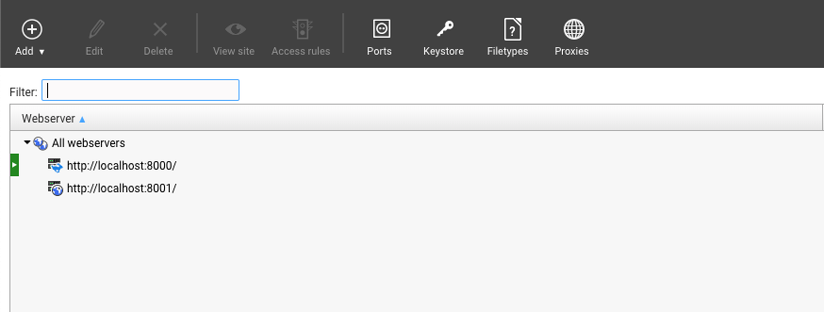
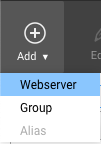
Here you will find the webservers that will be used to host the application. In order to add a webserver, click on Add -> Webserver.
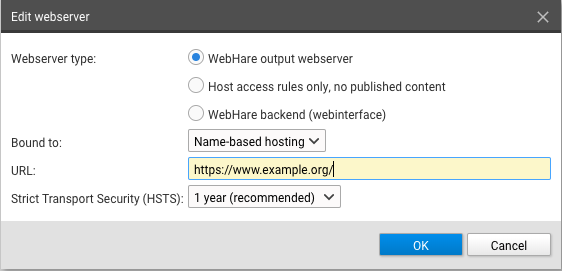
You will now be presented with the following screen. Select WebHare output server for Web servertype. The URL will be where the application can be accessed with. Click on OK to create the webserver.
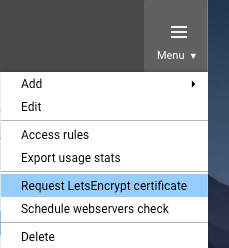
To host the app on a secure https connection, you need to request a LetsEncrypt certificate. This can be done by going to Menu -> Request LetsEncrypt certificate on the far right. Make sure you have selected the domain, in the webserver list, that you want to request a certificate for. You will now be presented with the following screen which contains the selected domain.
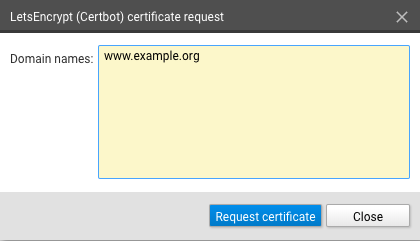
Click on Request certificate.
The domain is now secured with a certificate.
Setting up Output URL
The site of the application will be listed in the Publisher under the folder WMCA.
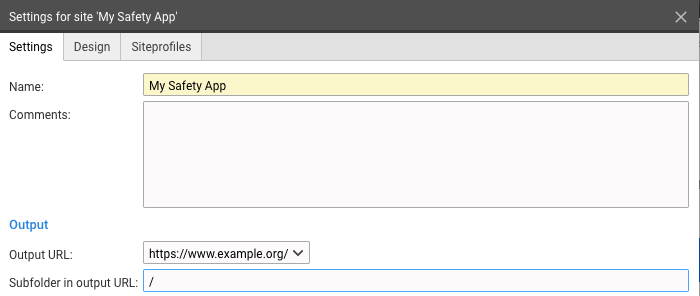
Right-click on the newly created site, inside the Publisher, and click on Website-settings. The Output URL is the url where the app will be hosted on and the Subfolder in output URL is the part behind the Output URL. Select the newly created webserver as the Output URL. For the Subfolder in output URL you can fill in "/". In this case, the application wil be hosted on https://www.example.com/.
Adding a user account
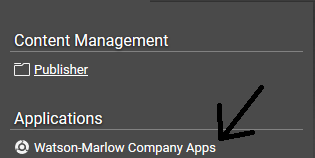
Sign in via the admin login and click on Watson-Marlow Company Apps
Double click on the app that you want to manage.
Click at the top on Manage accounts
Here you will see a list of users that can use the app.
To add a new account click on Add. Here you can fill in the name of the user and the e-mail used to login the app.
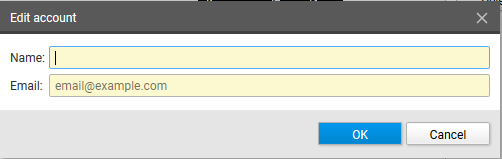
Click on OK to add the user.
Adding an administrator account
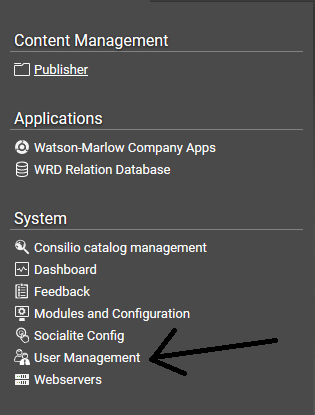
To add an admin account you will need to go to User management
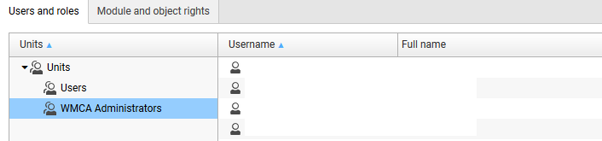
You will be presented with the following screen. Make sure that WMCA Administrators is selected as shown below
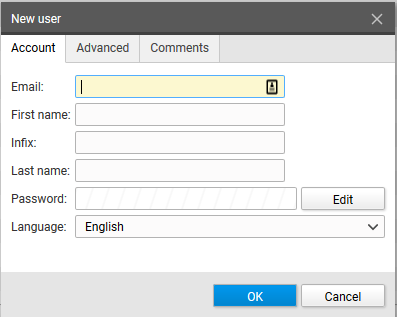
To add a user click on Add -> New user…
Fill in what’s applicable and click on OK to add the user. (Steps to setup a password will be shown later on).
To give the newly created user access to the app and the publisher, right-click on the user and click on Grant right. You will be presented with the following screen
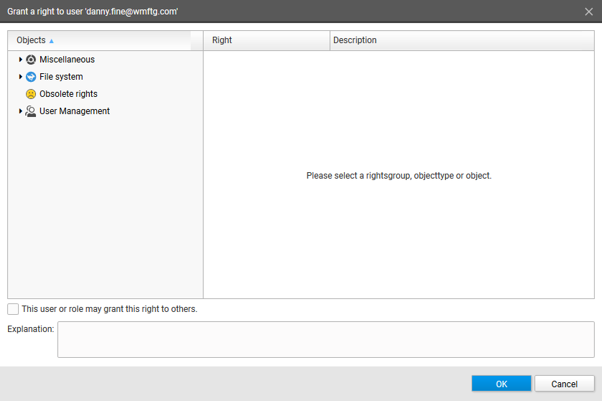
To give the user rights for the Application:
Miscellaneous -> Watson-Marlow Company Apps -> <Application> -> Manage App
To give the user rights for the Publisher:
File System -> Files and folders -> Watson-Marlow Company Apps -> <Application> -> Full access
Note: Only one right can be granted at a time. When you selected a right, click on OK. To grant another right to the user, the same process must be repeated.
To give the user a password, right click on the user and click on Create password reset link. Make user the the first option is selected and click on OK.
You will now be presented with a screen containing the password reset link for the user.
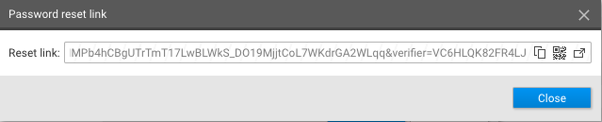
This link needs to be given to the user.